Increase Website Security with Sucuri Plugin: Installation and Configuration Guide in WordPress
If you have a website, it is important to make sure that it is protected against potential threats. One way to do this is through the installation of security plugins such as Sucuri. In this article, we will show you how to install and configure Sucuri on WordPress to increase the security of your website.
Introduction to the Sucuri Plugin
Sucuri is a WordPress security plugin that helps protect your website from malicious attacks. It offers many features like web application firewall, security monitoring, malware scanning, and much more. Sucuri is quick and easy to install and configure.
Buy Sucuri or use free version
To get started, you need to purchase Sucuri or download the free version from their official website. There are different plans available depending on your website needs. If you choose to purchase Sucuri, you will receive an email with installation instructions.
How to Install Sucuri?
To install Sucuri, you need to log in to your WordPress dashboard and select “Plugins” from the left side menu. Then, click “Add New” and search for “Sucuri.” Click “Install” and then “Activate” to activate the plugin.
Configuring Sucuri
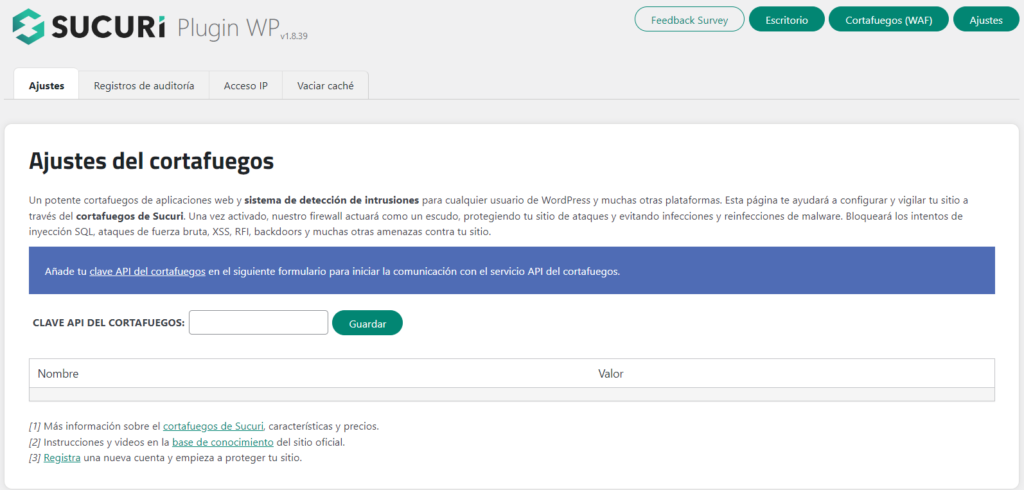
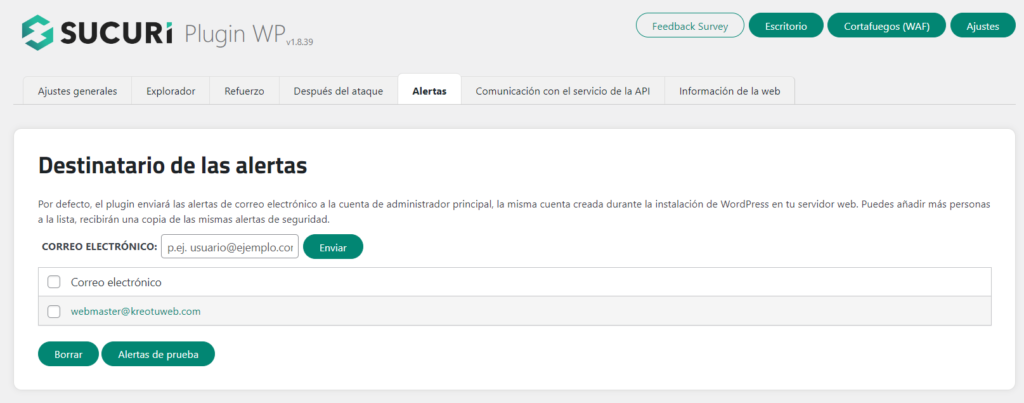
Once you have installed Sucuri, you need to configure the plugin to suit your needs. To do so, click on “Sucuri Security” in the left side menu of your WordPress dashboard. Then, select “Settings.” In this section, you will find the following configuration options:
Web Application Firewall (Paid)

Security Monitoring
The next step is to set up Security Monitoring. This feature allows you to monitor your website for potential security threats. You can set up email notifications and choose which events you want to monitor. To activate Security Monitoring, simply click “Activate” and then “Save Changes.”
Malware Scanning

Integrity Protection
Integrity Protection is another important feature of Sucuri. This feature allows you to monitor your website files for unauthorized changes. If any unauthorized modification is detected, you will receive an email notification. To activate Integrity Protection, simply click “Activate” and then “Save Changes.”
Below we share the most frequently asked questions about the Sucuri plugin.
How safe is Sucuri?
Sucuri is one of the most secure security plugins available on the market. It offers a wide range of security features that help protect your website against potential threats.
How much does Sucuri cost?
Sucuri offers different plans depending on your website needs. Prices start at $199.99 per year.
Do I need to have technical knowledge to use Sucuri?
No, you don’t need any technical knowledge to use Sucuri. Installing and configuring Sucuri is quick and easy.
As a conclusion we have
Online security is important, especially if you have a website. Installing and configuring Sucuri on WordPress is an easy way to increase your website’s security and protect it against potential threats. With this tutorial, we hope we have helped you install and configure Sucuri on your website.


No comment